While for all of us the year 2020 was the year of the virus, for me it was also the year of Pen & Paper RPGs. Thanks to online tools like roll20.net and more recently FoundryVTT, some friends, work colleagues and I have been playing more DnD4e, Call of Cthulhu, Star Wars FFG and Pathfinder 2e than ever. 59 times actually — yes, we counted.
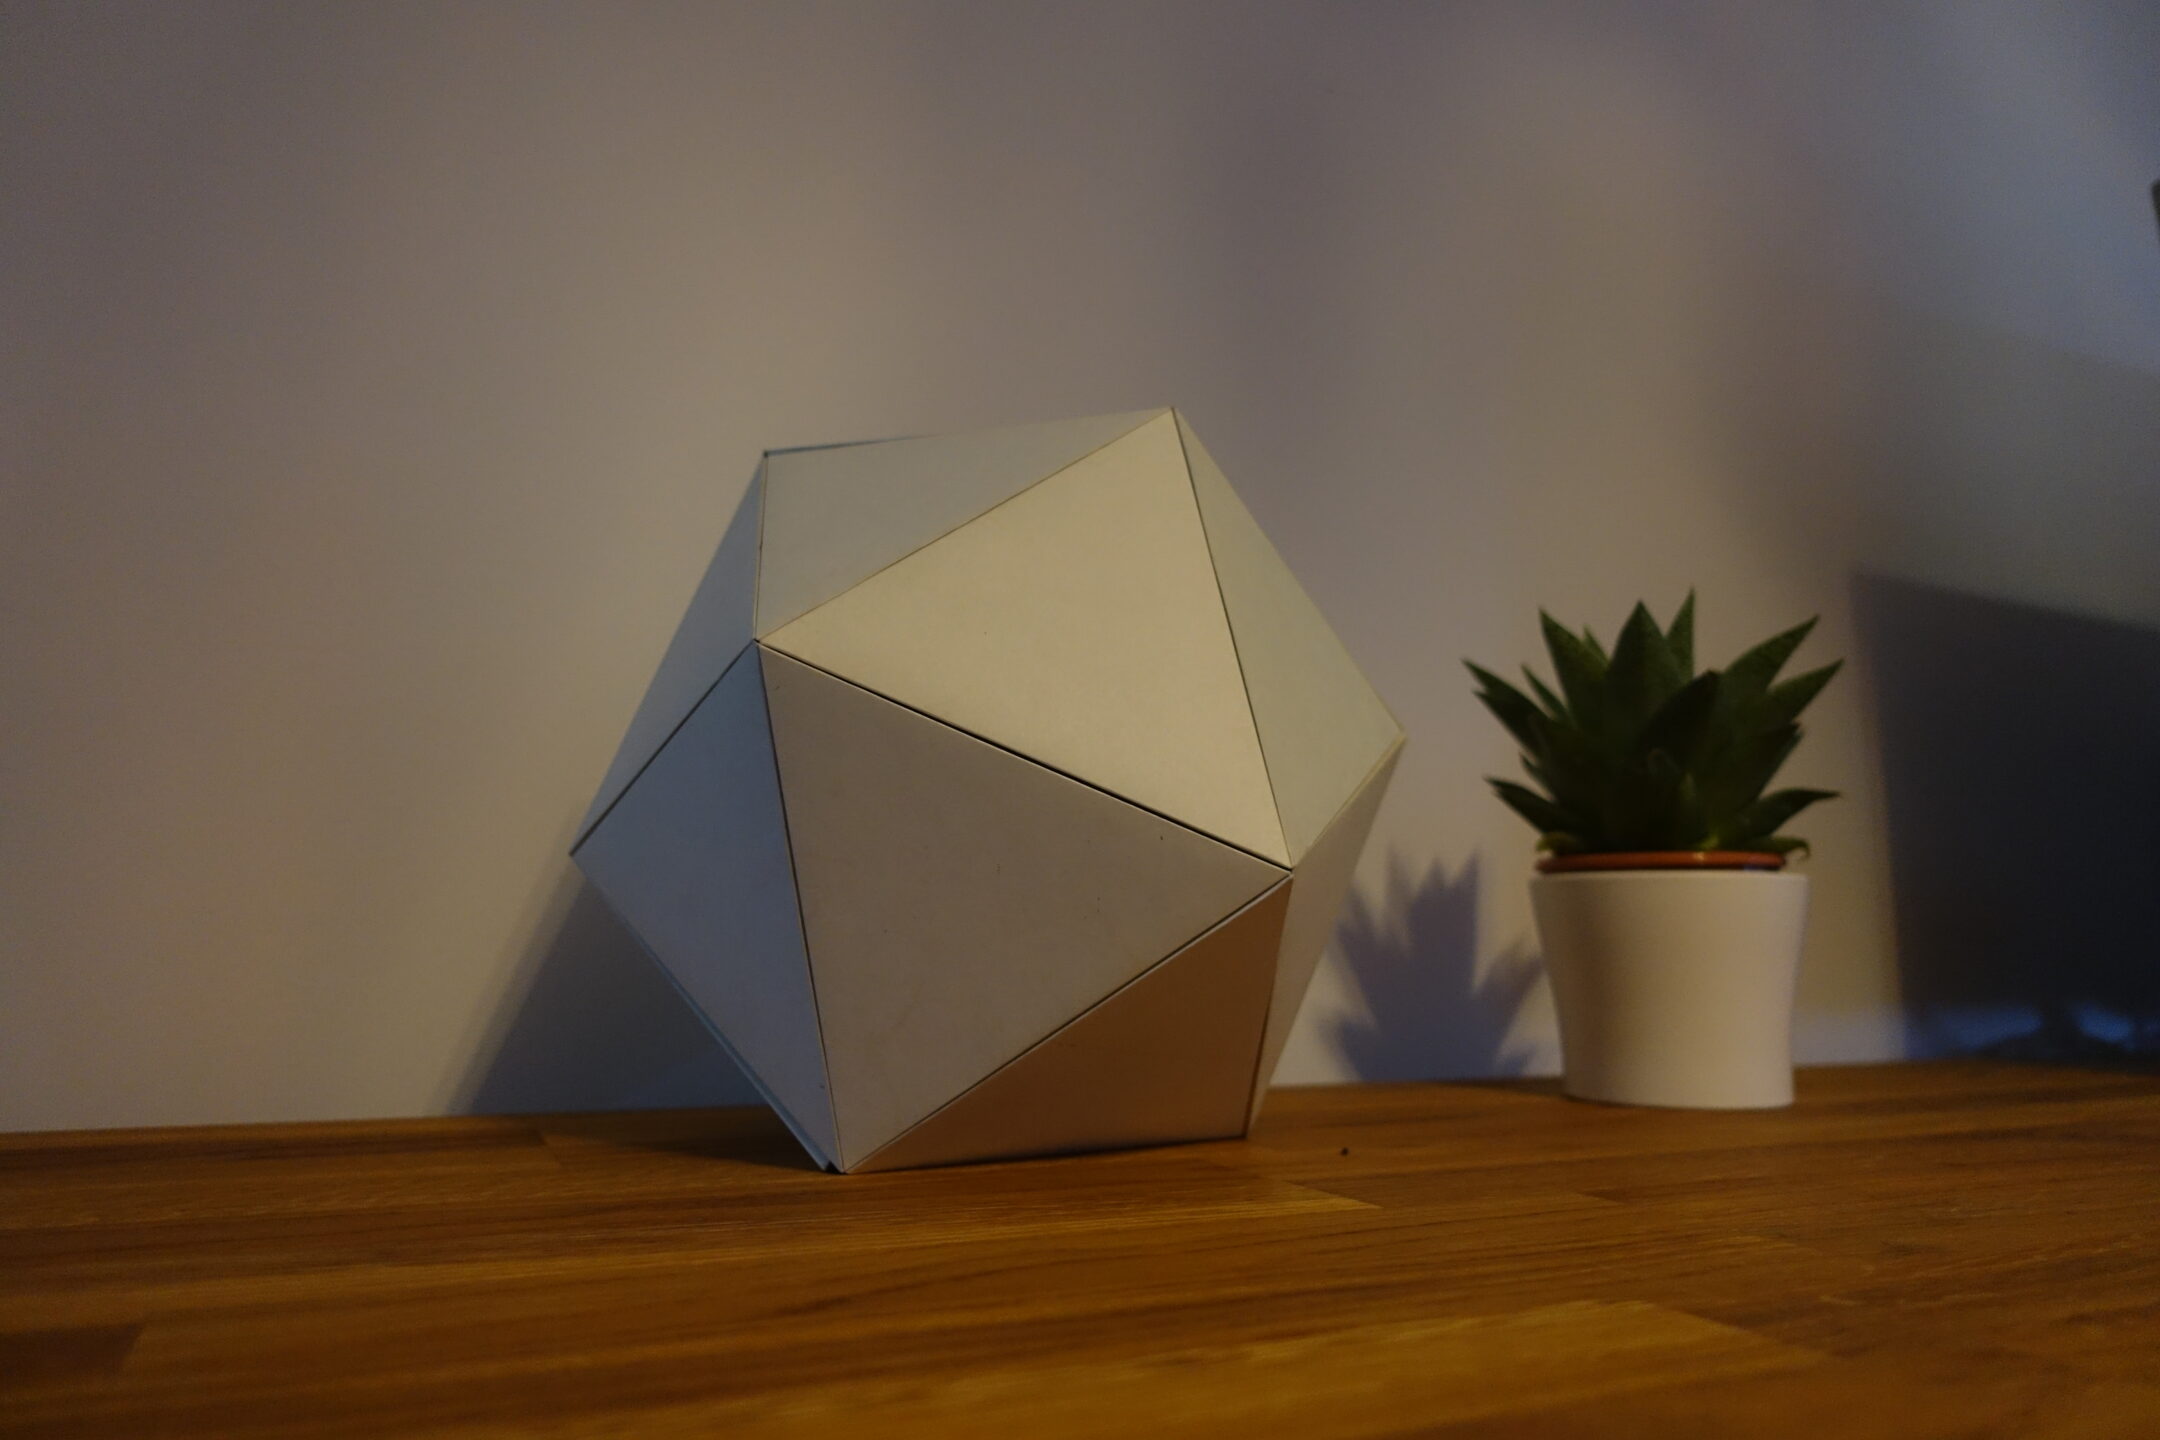
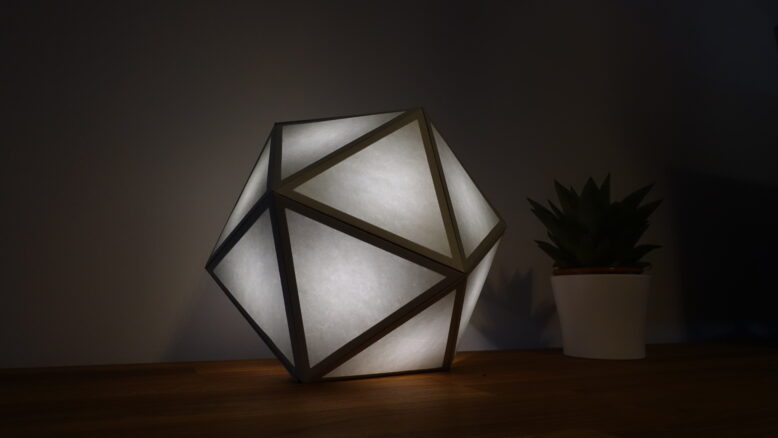
So what would be more appropriate to build for a desk ambient light, than a huge 20 sided lamp?
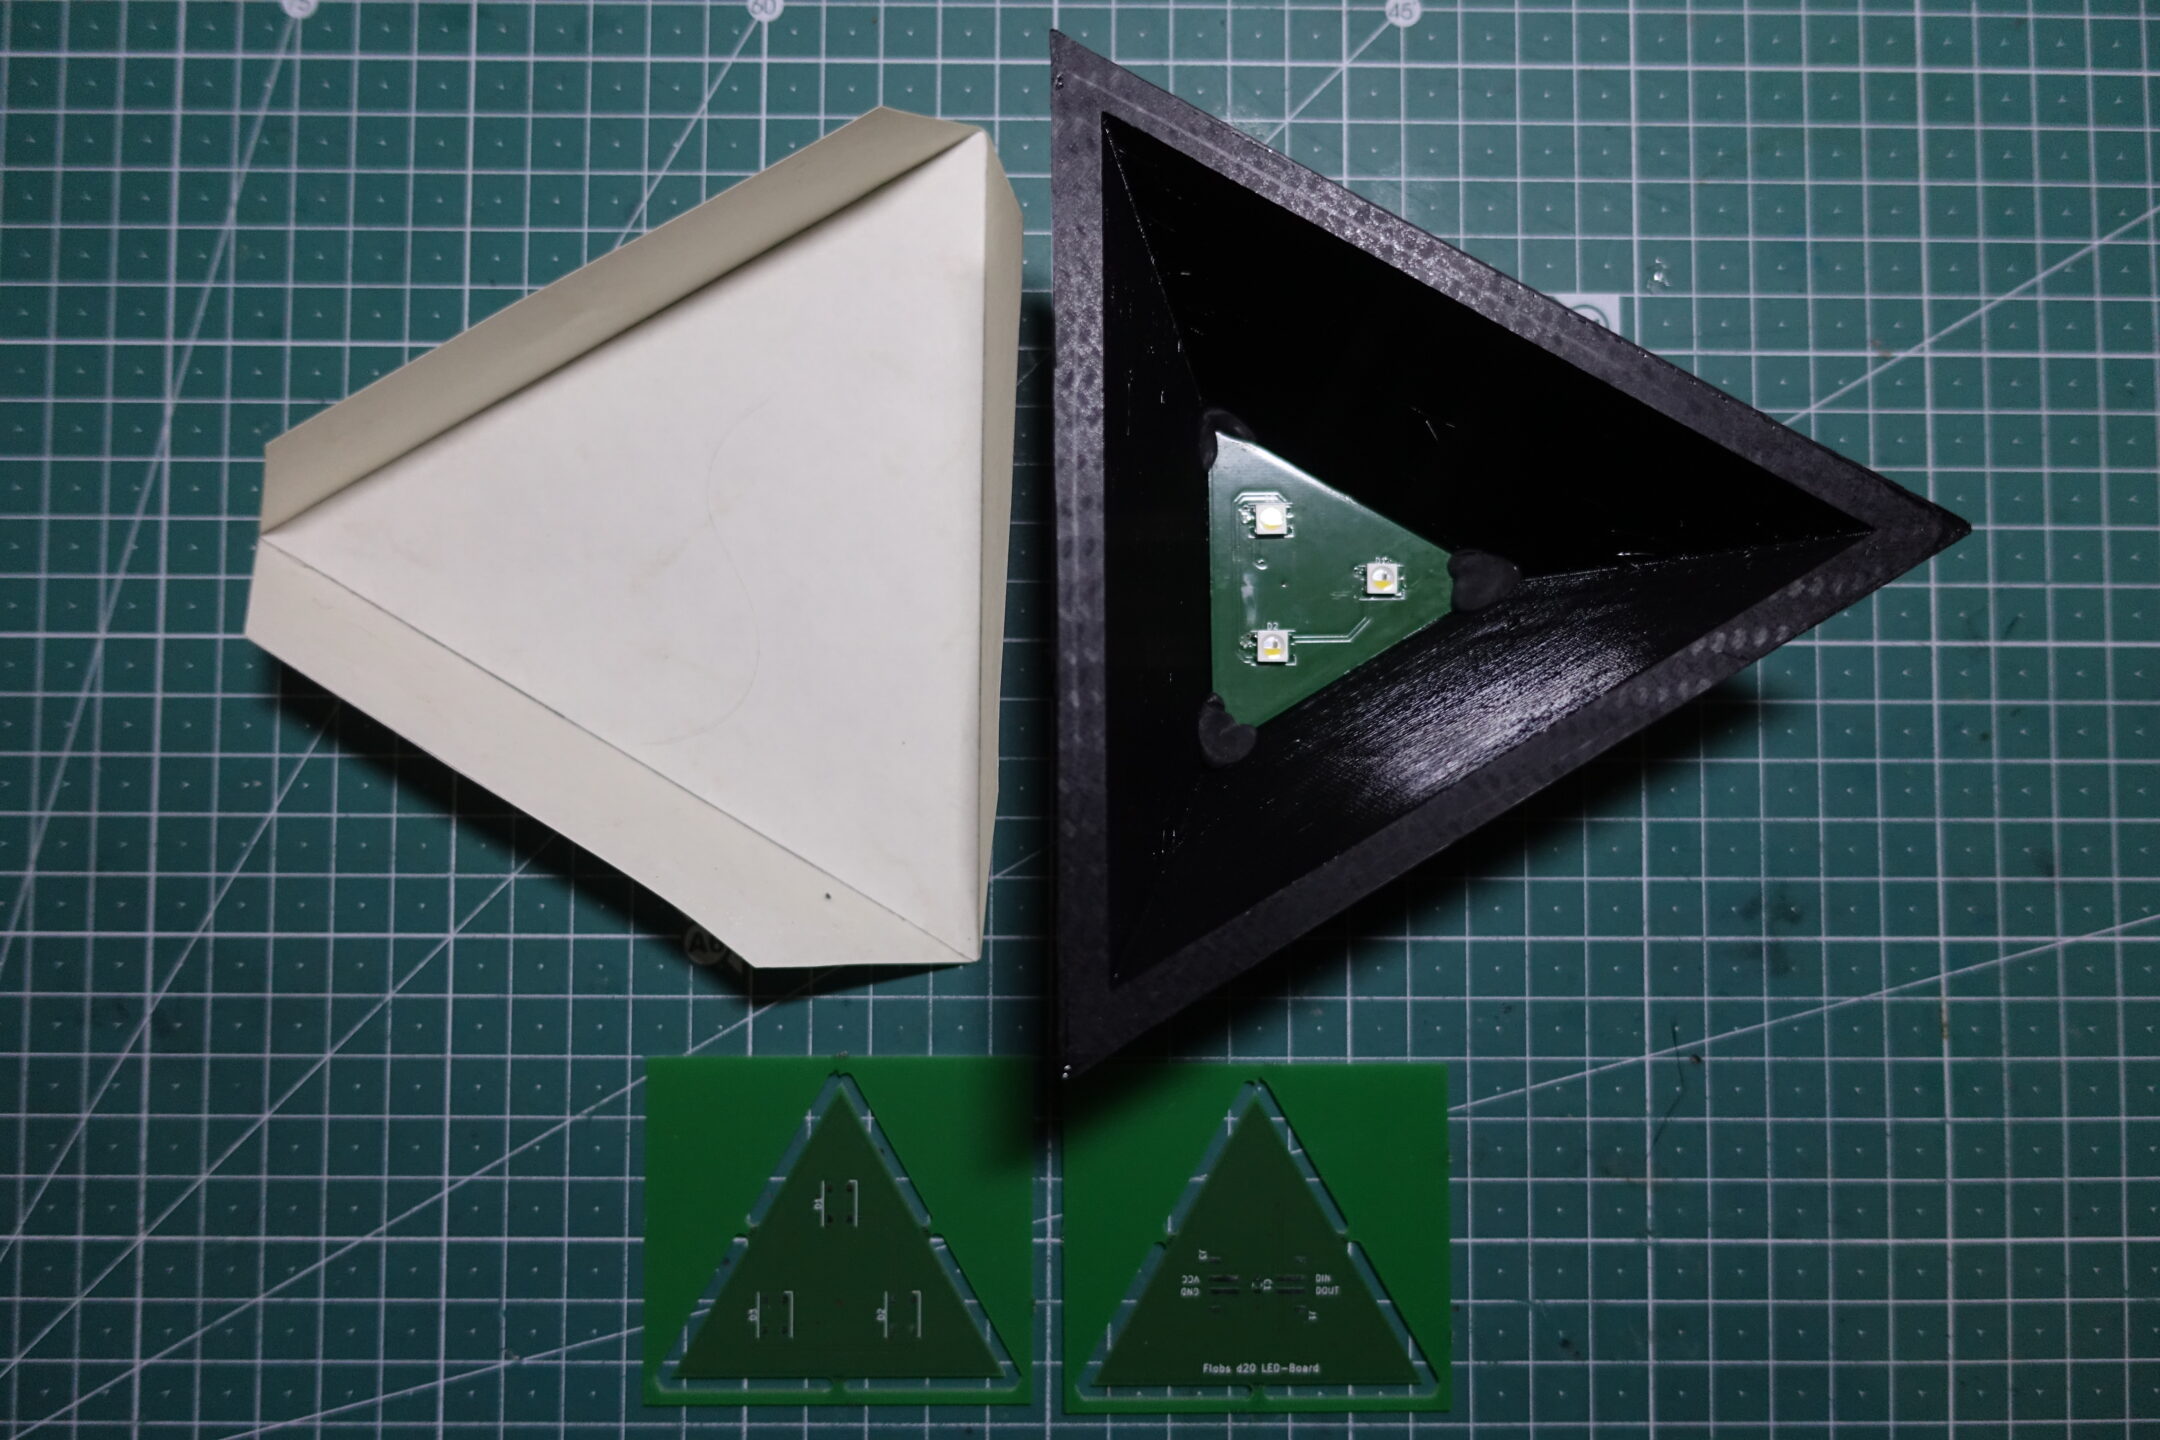
Each face consists of a 3d printed body in the shape of a tetrahedron, open on one side and the top cut off. A quick PCB, with three RGBW-LEDs (of the SK6812 variety) in each corner and some connectors to daisy-chain the power and data signal from face to face, are stuck into the tetrahedrons. Making it a total of 57 LEDs involved (19 sides, since the bottom, where it stands on is left open).
The open face is covered with some elephant paper. For one to diffuse the light from the LED to give a more evenly lit surface and the lightly structured surface of the paper gives the lamp a nice look, even while the lights are off.
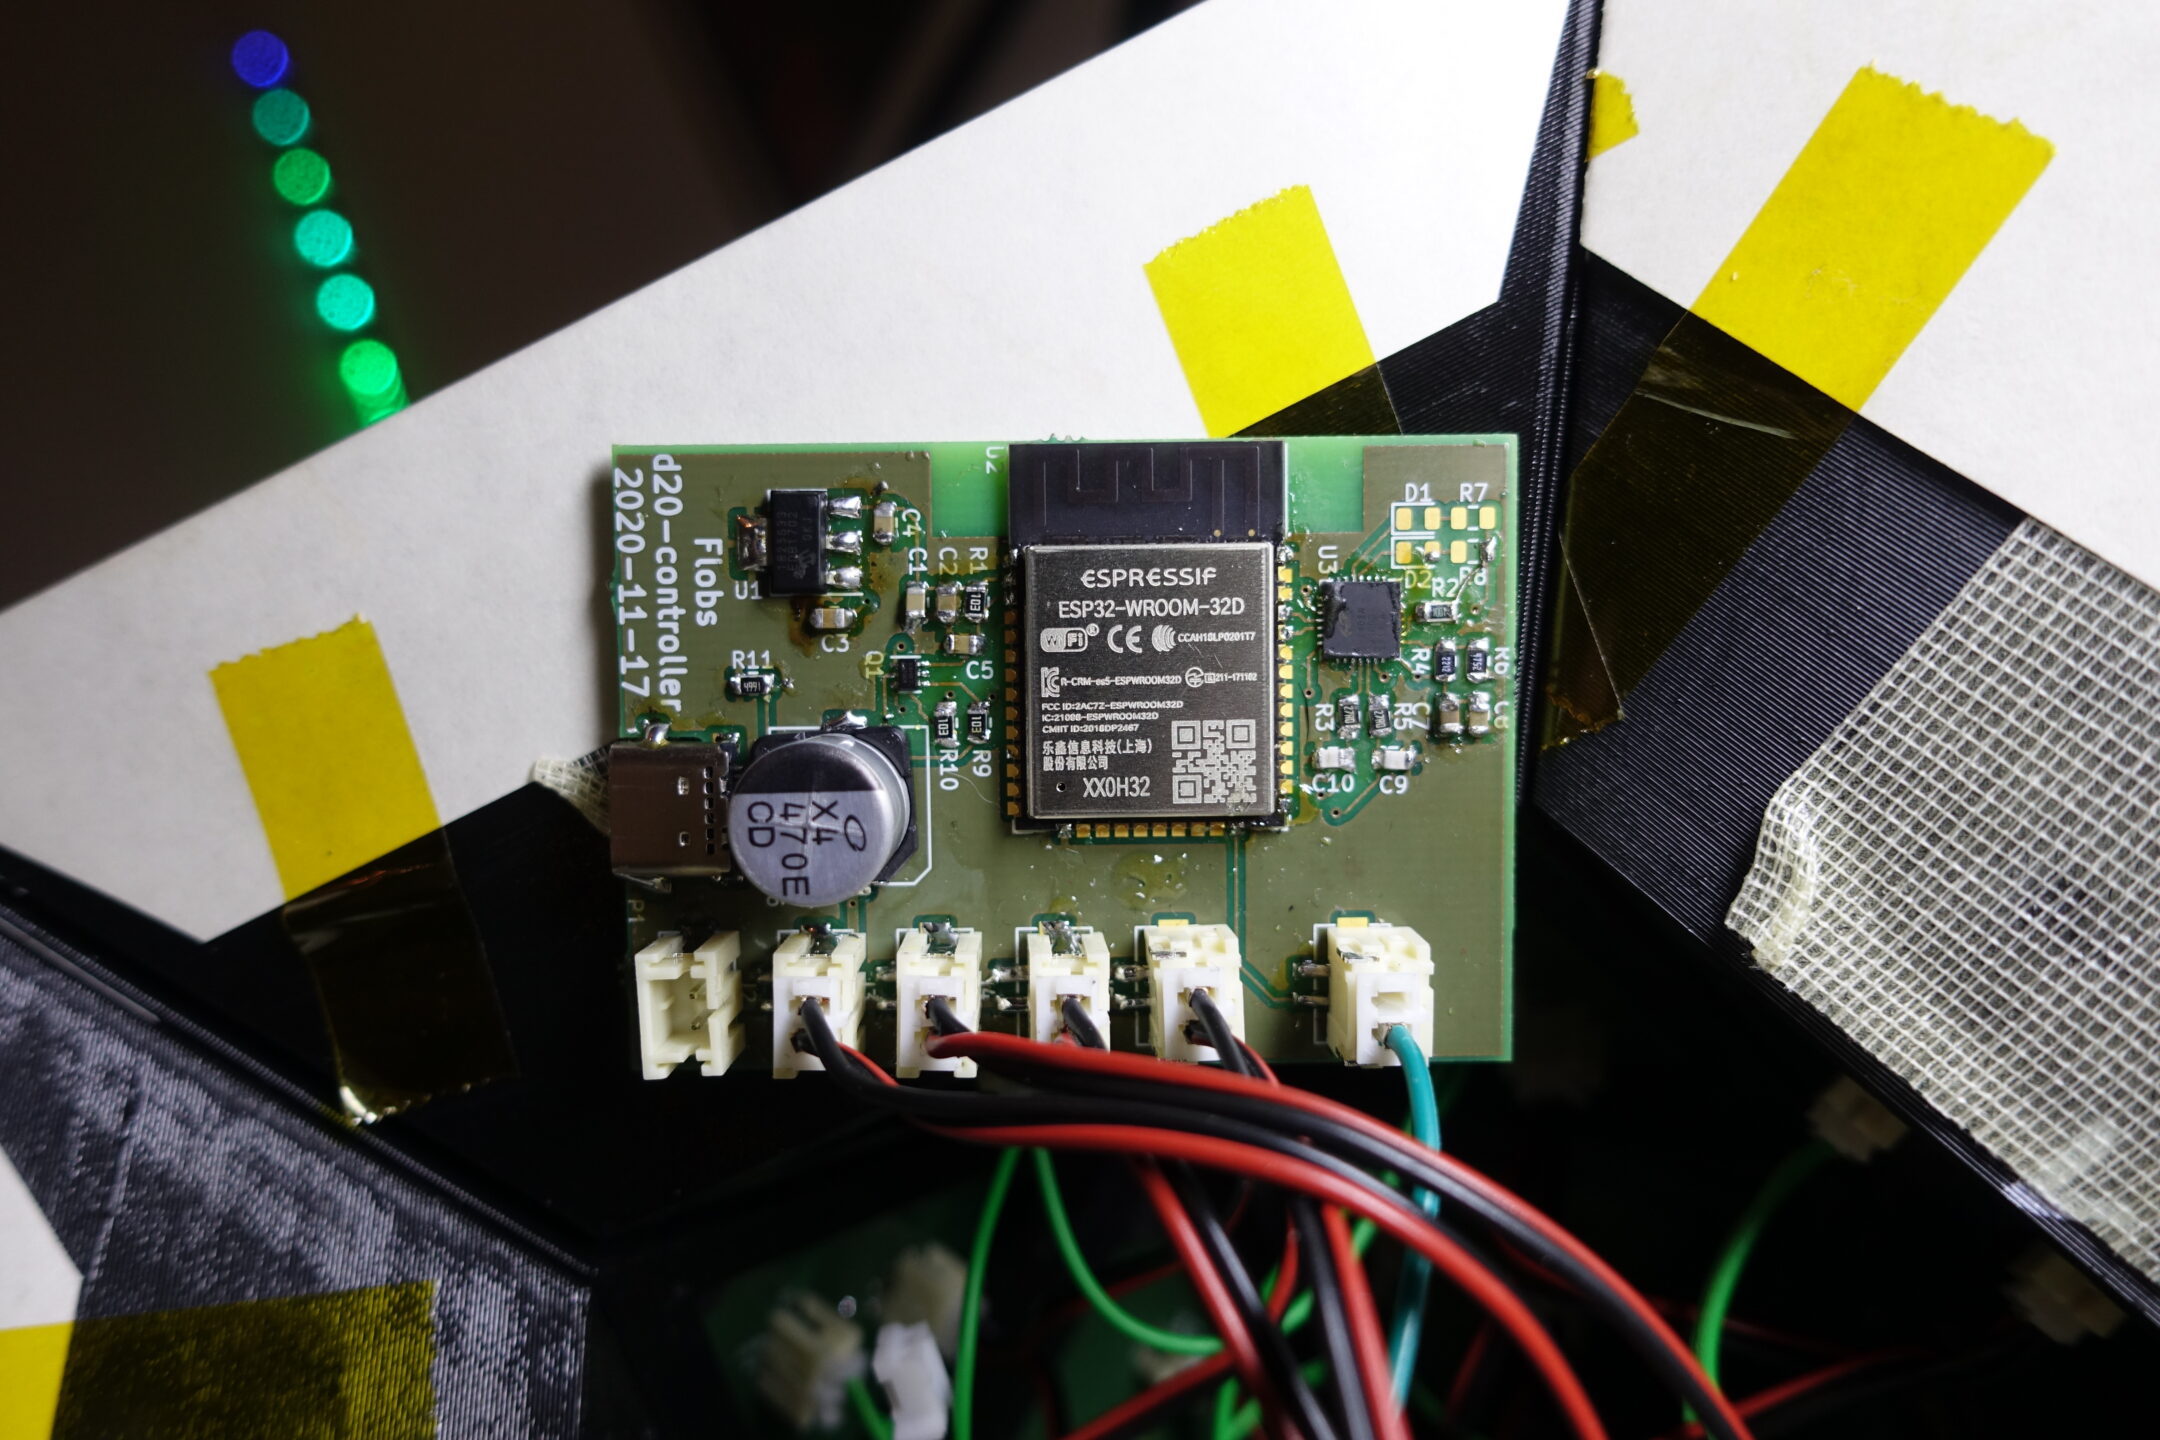
The brain-boxery to control the LEDs comes virtue of an ESP32. What else? The board I designed includes an CP2102N for the USB to Serial communication to initially program the ESP32 as well as an USB-C connector to power the board afterwards. I found a 3.5A at 5V USB-C to power the lamp. Which is about right, even with all channels on all LEDs lit.
The boards have been manufactured at aisler.net, they might not be as cheap as alternatives like JLCPCB, but at least the delivery time is not as long, since they manufacture in Europe.
Hand-soldering the SK6812 to the PCB, I found that especially the red channel is very sensitive to too much heat. I had to replace several of the LEDs after I powered it on for the first time, due to dead red channels. This wasn’t helped by the fact, that I had some issues getting enough heat onto the ground pad, due to the large thermal mass of the ground plane on the board and rather thick traces between pad and plane.
But in the end I managed to get all LEDs working. The last issue I have to solve is actually permanently assembling the lamp. As an initial attempt, I just used some double-sided tape to stick the faces together. However, due to the variations in tolerances from 3d printing and not accounting for the additional thickness of paper and sticky tape, the 20-sided die doesn’t fit together perfectly. I had some troubles with sides not touching enough for the tape to stick to both sides. And the lamp falling apart after a few days. I didn’t use a more permanent solution yet, since I was unsure about problems arising.

As firmware for the ESP32 I went with WLED, which Just Works™, offers tons of effects and integrates great into my Home Assistant.
The KiCad files for the controller and LED boards can be found here and here.